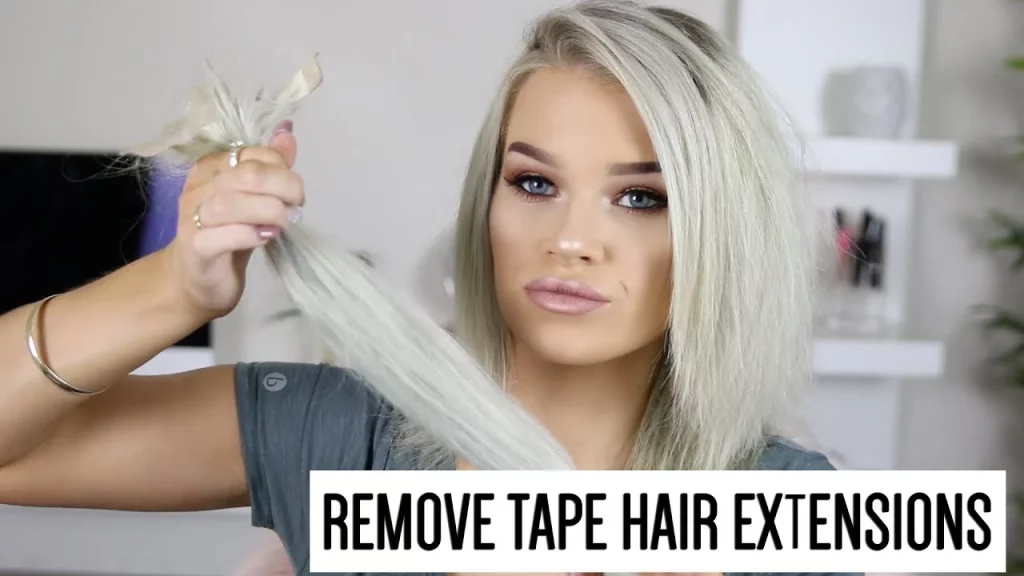
Tape-in hair extensions are a favorite among beauty enthusiasts and salon professionals for their natural look, lightweight feel, and versatility. Whether you’re ready for a style refresh or it’s time to replace or reposition them, knowing how to remove tape-in extensions safely is crucial for protecting your natural hair and maintaining its health.
This blog will guide you through everything you need to know, from why proper removal matters to a detailed step-by-step process, common pitfalls to avoid, and aftercare tips to keep your hair in great condition.
What Are Tape-in Hair Extensions and Why Do People Love Them?
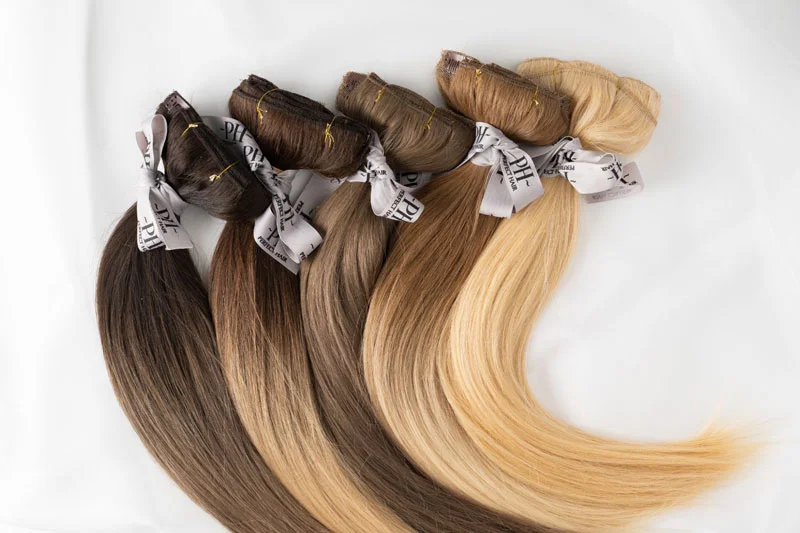
Tape-in hair extensions are semi-permanent extensions that are applied using a strong adhesive tape. They are known for their seamless and natural-looking integration with your own hair, making them an excellent choice for those who want added length, volume, or both.
Some of the key benefits of tape-in hair extensions include:
- Lightweight and Comfortable: Unlike clip-ins or sew-ins, tape-ins are almost weightless and sit flat on your scalp, making them much more comfortable for daily wear.
- Reusable: When maintained well, the same extensions can be retaped and reused multiple times.
- Low Maintenance: With proper care, tape-in extensions require less frequent adjustments compared to other extension types.
However, to enjoy these benefits consistently, it’s essential to remove them carefully when the time comes.

Why Does Safe Removal of Tape-in Extensions Matter?
Improper removal of tape-in hair extensions can lead to unnecessary damage to your natural hair, scalp irritation, or even breakage of the extensions themselves. Here’s why safe removal is important:
- Protects Your Hair Health: Rushing the process or using the wrong products can harm your natural hair, making it fragile and prone to breakage.
- Preserves the Extensions: If you’re planning to reuse the extensions, safely removing them ensures their longevity and minimizes the chance of damage.
- Prevents Scalp Irritation: The adhesive bond for tape-in extensions is strong, and using the right removal techniques helps avoid tugging or pulling that can irritate your scalp.
By following the correct methods, you’ll protect both your natural hair and the extensions for future use.
Step-by-Step Guide to Safe Removal
At-Home Removal
If you’re comfortable removing tape-in extensions at home, follow these detailed steps to do it correctly.
Step 1: Gather the Right Tools
You’ll need a tape-in hair extension remover (preferably one with an oil-based formula), a fine-tooth comb, and hair clips. Some natural oils like coconut or argan oil can also help loosen the adhesive if you don’t have a remover on hand.
Step 2: Separate and Clip Sections
Divide your hair into thin, manageable sections using the hair clips. Focus on one section at a time to avoid tangles and confusion.
Step 3: Apply the Remover
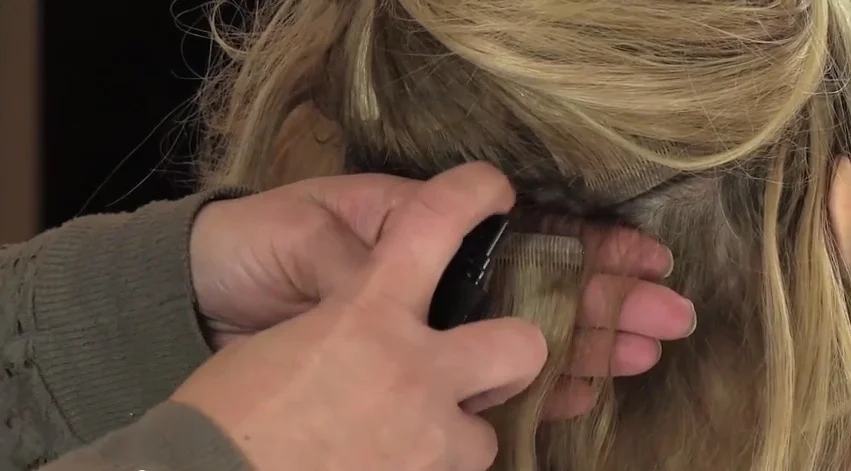
Spray or apply the tape-in remover directly onto the adhesive area. Allow it to sit for a few moments to break down the glue. If you’re using an oil, massage it gently into the adhesive tape to help loosen it.
Step 4: Gently Peel Off the Extensions
Using your fingers, gently pull apart the tape and slide the extensions out. Avoid tugging, as this can cause breakage or damage.
Step 5: Comb Out Residual Adhesive
After removing the extensions, use a fine-tooth comb to remove any leftover adhesive from your natural hair. Be patient and gentle to avoid unnecessary stress on your strands.
Salon Removal
For those who prefer a professional touch, visiting a salon is an excellent option. Hairdressers are trained to use the right products and techniques to remove tape-in extensions efficiently and safely. Additionally, they can assess your hair’s health and provide personalized advice for aftercare.
Tools and Products You’ll Need
For removing tape-in extensions, you’ll need the following essentials:
- Tape-in Extension Remover: Look for oil-based or alcohol-free solutions to gently dissolve the adhesive without damaging your hair.
- Fine-Tooth Comb: Ideal for de-tangling and removing residual glue from your hair.
- Hair Clips: These help you work on sections of your hair without getting overwhelmed.
- Natural Oils (Optional): Coconut or argan oil can serve as an alternative if you don’t have a dedicated remover.
- Patience: Removing tape-ins correctly takes time, so allocate at least an hour to avoid rushing the process.
Common Mistakes to Avoid
Even with the right tools, there are a few common mistakes that can lead to problems during removal. Here’s what to avoid:
- Rushing the Process: The adhesive needs time to break down fully. Pulling at the extensions prematurely can rip your natural hair.
- Using Harsh Products: Avoid acetone or other abrasive chemicals that can weaken your hair.
- Skipping Sectioning: Trying to remove all extensions at once can cause tangles and make the process more frustrating.
- Not Removing Residual Adhesive: Leaving glue in your hair can make it sticky and prone to tangling later on.

Aftercare for Your Natural Hair
Once your tape-in extensions are removed, it’s essential to care for your natural hair to restore its health and shine. Here’s how:
- Deep Condition: Use a rejuvenating conditioner or hair mask to moisturize and repair your strands.
- Clarify Your Scalp: A clarifying shampoo will remove leftover oils and adhesive residue.
- Trim Split Ends: Removing extensions can sometimes reveal split ends. A quick trim will keep your hair looking healthy.
- Hydrate and Nourish: Apply a leave-in conditioner or serum to keep your hair hydrated and protected.
- Give Your Hair a Break: Allow your natural hair some time to breathe before applying new extensions.
Protect Your Hair, Every Step of the Way
Removing tape-in hair extensions doesn’t have to be intimidating or stressful. By following the steps outlined above and avoiding common mistakes, you can protect your natural hair and safely remove your extensions for reuse.
Don’t forget—healthy hair is happy hair! If you’ve recently removed your tape-ins, share your tips and tricks in the comments below. Let’s help each other keep our locks as gorgeous and healthy as possible.

