Clip-in hair extensions have become a go-to solution for individuals looking to add volume, length, or a splash of color to their hair without long-term commitment. Whether you’re prepping for a special occasion, aiming for a daily boost in confidence, or simply exploring new styles, clip-ins offer unmatched versatility. However, one critical decision you’ll face is whether to install them yourself or trust a professional stylist. Both options come with their unique benefits, challenges, and considerations.
In this guide, we’ll explore everything you need to know about DIY vs. professional installation of clip-in hair extensions. From understanding the basics of clip-ins to weighing costs, time, and results, this article will equip you with the insights you need to make the best choice.
Understanding Clip-in Hair Extensions
Before diving into the installation methods, it’s important to understand the basics of clip-in hair extensions.
What Are Clip-in Hair Extensions?
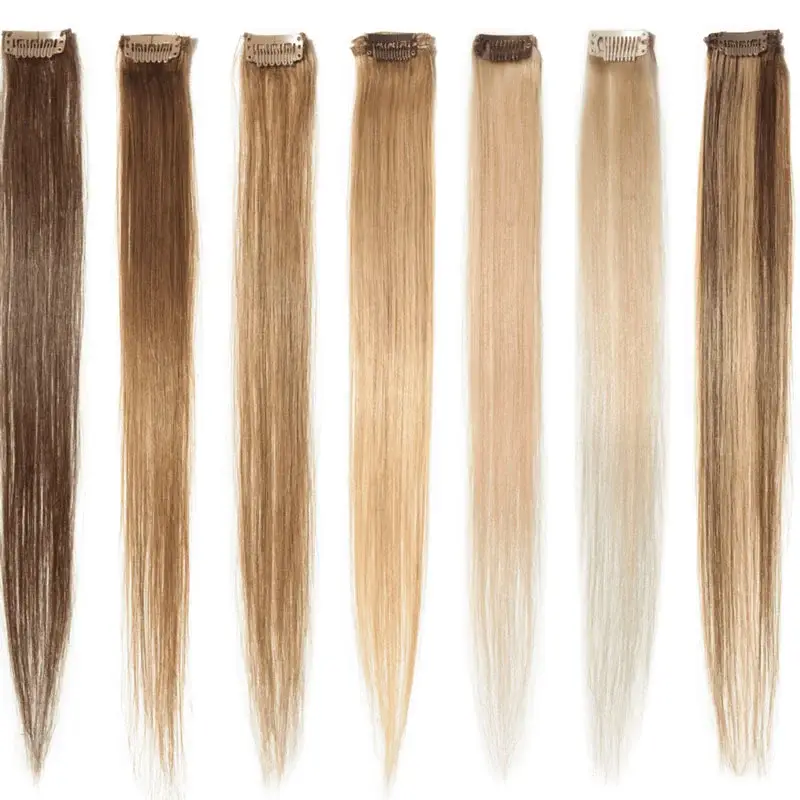
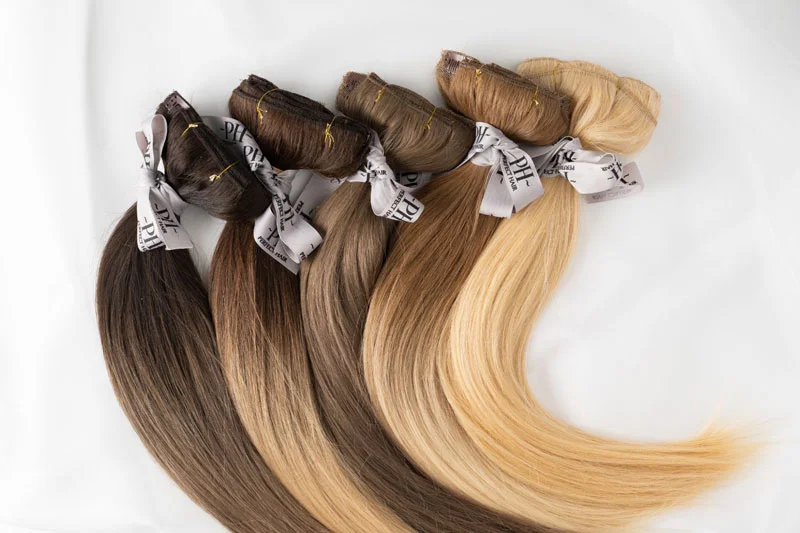
Clip-in hair extensions are strands of synthetic or human hair attached to small, pressure-sensitive clips. These clips are designed to attach securely to your natural hair while remaining discreet. Unlike other types of extensions, clip-ins are not permanent and can be removed or reinstalled whenever you like.
Benefits of Using Clip-ins
One of the biggest advantages of clip-in extensions is their flexibility. You can change your hairstyle, add length, or experiment with colors in just minutes. Additionally, they are less damaging than semi-permanent options like tape-ins or glue-ins because they don’t require adhesives or heat during installation.
Common Myths About Clip-in Extensions
A common misconception is that clip-ins are only for people with thick hair or that they look fake. In reality, modern clip-ins are designed to blend seamlessly with various hair types and textures. Another myth is that they’re difficult to maintain, but with proper care, clip-ins can last for months or even years.
DIY Installation of Clip-in Hair Extensions
Opting to install clip-in extensions at home can be a rewarding experience. It gives you full control over the process, and with a little practice, it can become a quick and easy routine.
What You Need for DIY Installation
DIY installation doesn’t require professional tools, but having the right essentials makes a difference. These typically include a set of clip-in extensions, a rat-tail comb, sectioning clips, and a mirror for visibility.
Step-by-Step Guide to Installing Clip-ins at Home
The key to a successful DIY installation is preparation. Start by sectioning your hair into layers and gently teasing the roots where you’ll attach the clips. Open the clips, slide them into the teased sections, and snap them shut. Work your way from the bottom layer of your hair to the top, ensuring each weft is securely in place.
Pros of DIY Installation
One undeniable advantage of DIY installation is cost savings. You avoid stylist fees and can reapply your extensions as often as needed without scheduling an appointment. DIY also allows you to customize placement to suit your style.
Cons of DIY Installation
On the flip side, DIY installation can be time-consuming, especially when you’re first learning the ropes. Mistakes in placement might lead to uneven blending or visible clips. Additionally, achieving a polished finish often requires practice.
Who Should Consider DIY Installation?
If you love experimenting with your hair, are comfortable working with tools, and enjoy a hands-on approach, DIY might be perfect for you. It’s also ideal for those who plan to wear clip-ins regularly and want to master the art of installation.
Professional Installation of Clip-in Hair Extensions
For those seeking flawless results without the hassle of self-application, professional installation is a game-changer.
What to Expect from a Professional Installation?
During a professional appointment, a stylist will assess your hair type, texture, and desired look. They’ll carefully section your hair, install each weft, and blend the extensions seamlessly with your natural hair using professional tools and techniques.
Pros of Professional Installation
The biggest advantage is expertise. A stylist knows exactly where to place each clip for the most natural look and can even trim or style the extensions to suit your face shape. Additionally, professionals can ensure your natural hair isn’t under unnecessary stress from improper placement.
Cons of Professional Installation
The main drawback is the cost. Professional services often come with a hefty price tag, and regular visits can add up over time. Appointments also require scheduling, which might not always align with your busy lifestyle.
Who Should Opt for Professional Installation?
If you have an important event, such as a wedding or photoshoot, professional installation ensures picture-perfect results. It’s also ideal for those who are new to clip-ins and want a professional demonstration before attempting DIY.
Key Differences Between DIY and Professional Installation
While both methods have their merits, several factors can influence your decision.
Cost Comparison
DIY is undoubtedly more budget-friendly, as you only need to invest in the extensions themselves. Professional services, on the other hand, include both expertise and labor costs.
Time Investment
DIY installation can take longer, especially for beginners. Professionals, with their experience, can complete the process much faster.
Quality and Longevity
Professionally installed extensions often have better longevity because they are secured optimally. DIY installations might require readjustments throughout the day.
Skill and Experience Required
DIY demands a learning curve, while professionals bring instant expertise to the table.

Factors to Consider When Choosing Between DIY and Professional Installation
- Budget: If you’re on a tight budget, DIY might be the better option.
- Skill Level: Consider your comfort and confidence in handling hair tools.
- Event or Occasion: For special events, professional installation guarantees precision.
- Maintenance Preferences: DIY requires regular self-adjustments, while professionals offer longer-lasting solutions.
FAQs About Clip-in Hair Extensions Installation
How long does DIY installation take?
Typically, 15–30 minutes once you’re experienced.
Will No, as long as it’s done by a trained stylist.professional installation damage my hair?
No, as long as it’s done by a trained stylist.
No, as long as it’s done by a trained stylist.
Absolutely!
Conclusion
Choosing between DIY and professional installation for clip-in hair extensions comes down to your goals, budget, and lifestyle. DIY offers flexibility and cost-effectiveness, while professional installation provides expertise and flawless results. No matter which path you choose, clip-in extensions are an empowering way to enhance your style and confidence.
Whether you’re a DIY enthusiast or prefer leaving it to the pros, remember that hair extensions are about expressing yourself. Choose what feels right for you, and most importantly—have fun with it!

